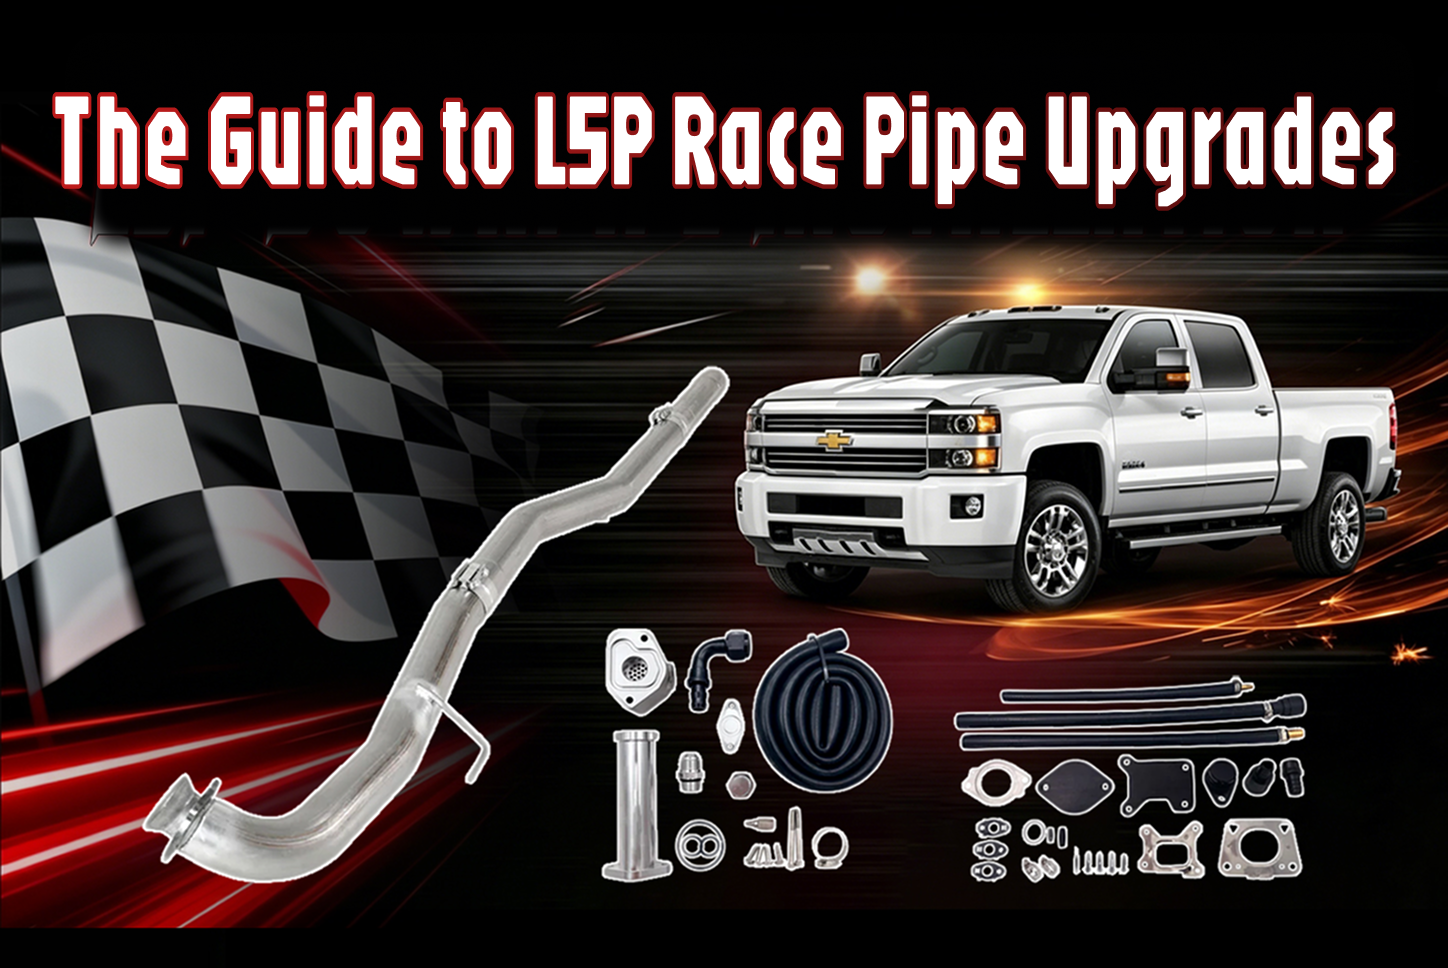
If you own a 2017+ Chevy Silverado or GMC Sierra 2500/3500 HD with the L5P Duramax, you’ve likely looked under the hood and noticed the bottleneck. From the factory, the L5P downpipe is a notorious eyesore—a "crushed" oval pipe designed more for firewall clearance during assembly than for actual exhaust flow.
Upgrading to a high-flow, 3-inch mandrel-bent downpipe is one of the most effective "emissions-on" modifications you can do. It lowers Exhaust Gas Temperatures (EGTs), improves turbo spool-up, and lets that variable geometry turbo breathe.
Here is the logic, the reality, and the "pro-tips" you need to survive an L5P downpipe installation.
The Reality: Why Is It So Difficult?
Unlike older Duramax generations (LB7 through LML), the L5P engine sits in a chassis with extremely tight tolerances against the firewall. The factory pipe is pancaked to fit into a space that wasn't really meant for a round 3-inch tube.
The job doesn't require a master’s degree in engineering, but it does require patience, the right reach, and a tolerance for cramped spaces.
Pro-Tips: What the Manuals Don't Mention
The "Dipstick" Struggle
Most guides tell you to "move the transmission dipstick tube."
The Pro Secret: Don't just move it; unbolt the bracket from the back of the cylinder head early on. This tube is the primary obstacle preventing the old pipe from sliding out and the new one from sliding in. If you fight the dipstick tube, the dipstick tube will win.
Heat is Your Friend (and Enemy)
The V-band clamp holding the downpipe to the turbo is often seized by thousands of heat cycles.
The Pro Secret: Spray the V-band bolt with high-quality penetrating oil 24 hours before you start. When it comes time to remove it, a long extension with a swivel socket is your best friend to reach it from the wheel well.
Passenger Side Wheel Well Access
Do not try to do this entire job from the engine bay.
The Pro Secret: Remove the passenger-side plastic inner wheel well liner. This gives you a direct line of sight to the turbo flange and the lower mounting bolts. It turns a "blind" job into a visible one.
The Step-by-Step Logic
Step 1: Disconnect the Sensors
The L5P downpipe is surrounded by heat shields and EGT sensors. Be extremely careful with the sensor threads. If they are seized, use a dedicated sensor wrench—stripping a bung on the turbo side is a nightmare you don't want.
Step 2: The V-Band Release
Once the bolt is off the V-band clamp, the clamp often stays stuck to the flange. Use a long flathead screwdriver and a light tap from a hammer to "pop" the clamp loose.
Step 3: The "Snake" Maneuver
Removing the factory pipe requires a specific twist-and-pull motion. You’ll need to rotate the pipe toward the passenger side while pulling downward. Having a second set of hands up top to guide the pipe past the dipstick tube will save you an hour of frustration.
Step 4: Installing the New Pipe
Aftermarket pipes (usually 304 or 409 Stainless Steel) are truly round, meaning they occupy more space than the crushed factory pipe.
-
The Pro Secret: Check your clearance against the firewall heat shield. Sometimes a slight "massage" (bending) of the heat shield is necessary to prevent the pipe from rattling against the cab under load.
Respecting the Facts: Performance Gains
Will an L5P downpipe add 50 horsepower? No. Anyone claiming massive gains on a stock tune is exaggerating.
However, the factual benefits are:
-
EGT Reduction: You can see a drop of 50–100°F in peak exhaust gas temperatures, which is vital for engine longevity when towing 20,000 lbs.
-
Turbo Efficiency: The turbo doesn't have to work as hard to push air past the "crushed" section, leading to slightly faster throttle response.
Featured Solution 1
For owners looking to fix the factory "crushed pipe" flaw and improve turbo efficiency, the 3.5" Downpipe is the essential first step.
3.5" Downpipe | 2017-2023 GM/Chevy Duramax L5P 6.6L

This is the "Upper" section of your exhaust that connects directly to the turbocharger.
-
Maximum Flow: Featuring 3.5" Stainless Steel Piping, this unit offers 20% better flow than the restrictive factory pipe.
-
Precision Engineering: Comes with a 4-bolt flange and two studs pre-installed for a hassle-free connection.
-
Leak Protection: Includes a high-quality sealing ring specifically designed to prevent oil and soot leakage at the turbo flange.
-
Direct Fit: Engineered for a direct fitment on 2017-2023 models with no modifications required to your chassis.
Featured Solution 2
If you are building a competition or off-road rig and want to eliminate all exhaust restrictions, you need to move further down the line to the DPF section.
5" DPF Delete Pipe | 2017-2023 GM/Chevy Duramax 6.6L

This 5“ pipe replaces the bulky, restrictive Diesel Particulate Filter (DPF) assembly.
-
Massive Diameter: The 5" 409 Stainless Steel construction allows your engine to breathe with zero restriction.
-
No-Bung Design: The "No Bungs" architecture ensures a completely unobstructed exhaust flow, maximizing velocity and power output.
-
Engine Health: Dramatically reduces EGTs, promoting optimal engine health even under extreme loads.
-
Efficiency: Experience a noticeable increase in horsepower and improved fuel economy by eliminating the restrictive factory filter.
Which One Do You Need?
Understanding the difference is key to a successful build:
| Feature | 3.5" Downpipe | 5" DPF Delete Pipe |
| Location | Directly off the Turbo (Upper) | Replaces the Filter (Middle/Lower) |
| Primary Goal | Reduces turbo backpressure & EGTs | Maximum HP and fuel efficiency |
| Bung Design | Standard connection | No Bungs (Smooth internal flow) |
| Installation | Difficult (Tight firewall space) | Moderate (Under the truck) |
| Best For | Improving turbo spool & reliability | Competition and Off-Road performance |
Can you run both?
Absolutely. Combining the 3.5" Downpipe with the 5" DPF Delete Pipe creates a "straight-through" path that fully optimizes the L5P platform, ensuring your Duramax isn't fighting its own exhaust.
Final Thoughts
The L5P downpipe upgrade is a essential "supporting mod." It prepares your truck for more work, more heat, and more miles. While it’s a grueling 3-to-5-hour job for a DIYer, the payoff—hearing that turbo spool freely and seeing your EGTs stay in the safe zone on a steep grade—is undeniable.
Ready to upgrade your L5P? Don't settle for subpar materials that will fail in the high-heat environment of your engine bay. At www.ifjf.com, we specialize in high-grade stainless steel L5P downpipes engineered for perfect fitment and maximum flow.Whether you're looking for better throttle response or a cooler-running engine, we provide the hardware and the expert support to get the job done right.
FAQs About L5P Downpipe
Q1:Will installing the 3.5" Downpipe trigger a Check Engine Light (CEL)?
A1: No. If you are only replacing the factory downpipe with our 3.5" high-flow unit and keeping your factory emissions equipment intact, it will not trigger a CEL or require a tune. It is a true "bolt-on" performance upgrade.
Q2: Do I need a tuner for the 5" DPF Delete Pipe?
A2: Yes. Any modification that removes the Diesel Particulate Filter (DPF) requires an electronic tuner (like EZ LYNK or HP Tuners) to recalibrate the ECU. Without a tune, your truck will immediately enter "Limp Mode."
Q3: Can I install the Downpipe and the DPF Delete Pipe together?
A3: Absolutely. In fact, that’s the ultimate setup. Running both together creates a high-velocity, "straight-through" path from the turbo back, maximizing EGT reduction and power gains.
Q4: Will I hear more "Turbo Spool" after the upgrade?
A4: Definitely. Removing the restrictive factory "pancake" pipe allows you to hear the variable geometry turbo (VGT) much more clearly. You'll get that crisp, professional diesel whistle every time you step on the gas.
Q5: How much will my EGTs actually drop?
A5: While every truck is different, most L5P owners see a drop of 50°F to 100°F just from the downpipe, and even more when the DPF is removed. This is a game-changer for guys who tow heavy fifth wheels through the mountains.